
Mornings can be divvied up into things that are hard and things that are easy; sleeping in: easy, deciding what to wear: hard, forgetting your keys as you dash out the door: all-too easy, building an entryway organizer to keep your keys, cards and coats all in one convenient spot: easy peasy! OK, we snuck that last one in there, but hear us out. This beautiful pegboard entryway organizer can be customized to fit any need and creates a space for all of your daily necessities. Best of all, this statement-making organizer is way easier to make than it looks (accepting praise from friends and family on your DIY: super easy).
Scroll below for the full step-by-step instructions to build your own DIY entryway pegboard!
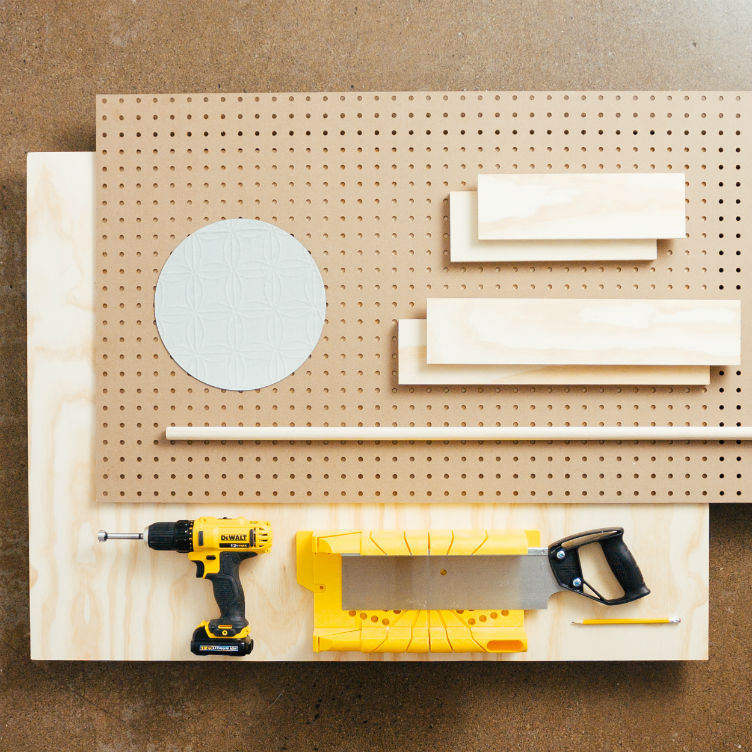
Materials to Make a DIY Entryway Pegboard
To make this project you’ll need a pegboard, plywood, pencil, drill, dowels, saw, saw guard rail, shelves and a mirror.
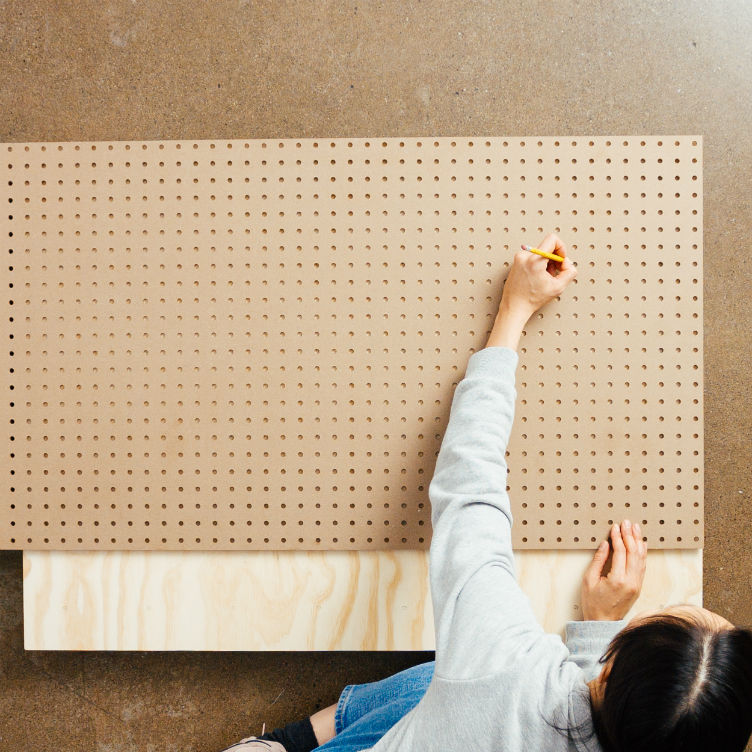
Step One: Mark Holes for Pegs
Using the pegboard as a measurement guide, mark through the holes on your plywood board that are 5″ apart using your pencil.
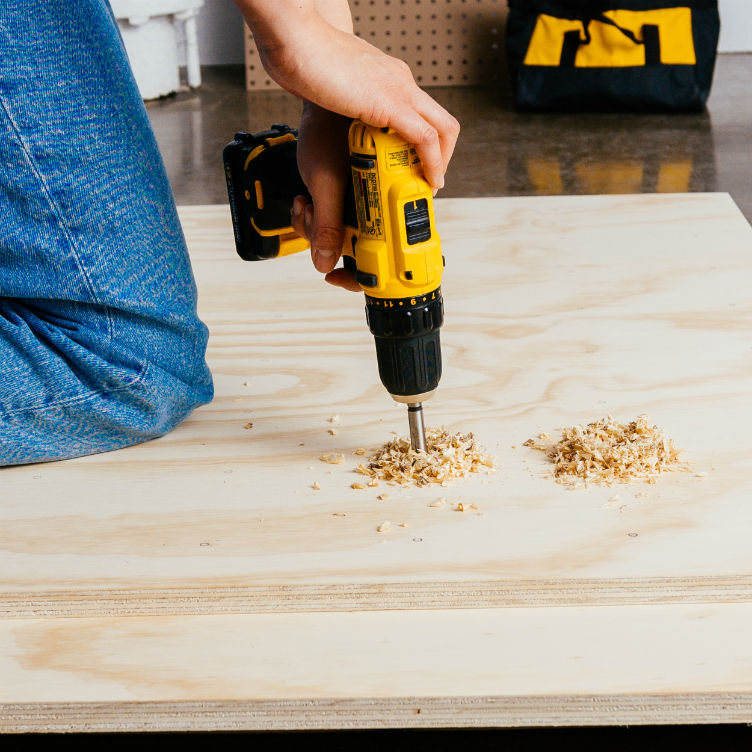
Step Two: Drill Holes Into Plywood Board
Place the plywood on top of scrap wood and drill holes according to the marks. Hold your drill at a 90-degree angle to ensure the holes are completely straight.
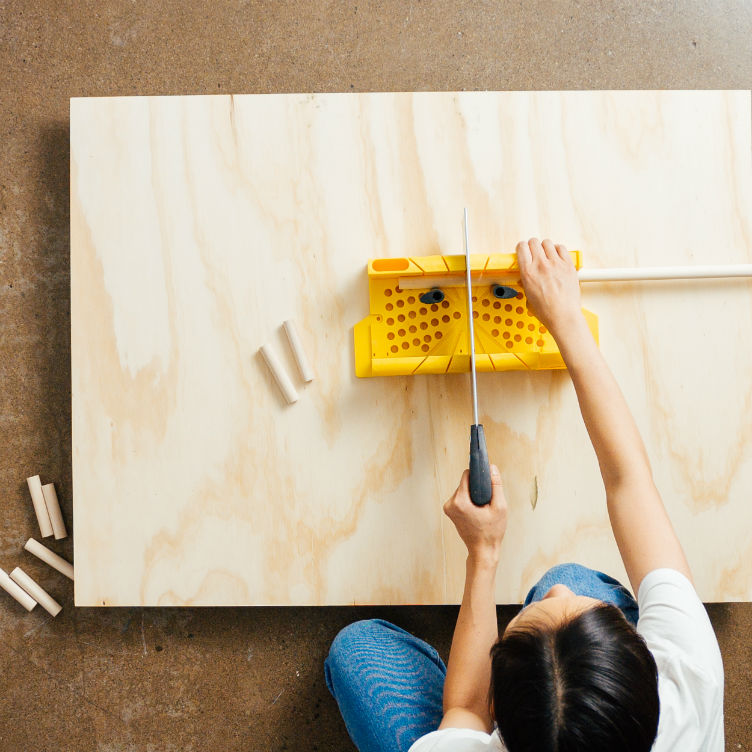
Step Three: Cut Dowels
Cut each dowel to 3.75″ in length.
Step Four: Hang Board
Hang your board on your entryway wall.
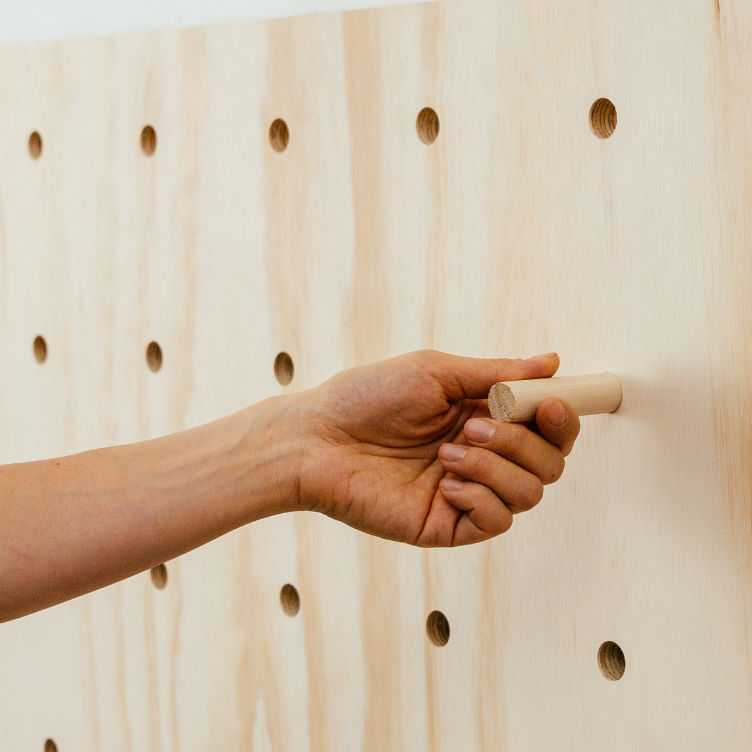
Step Five: Arrange Dowels on Board
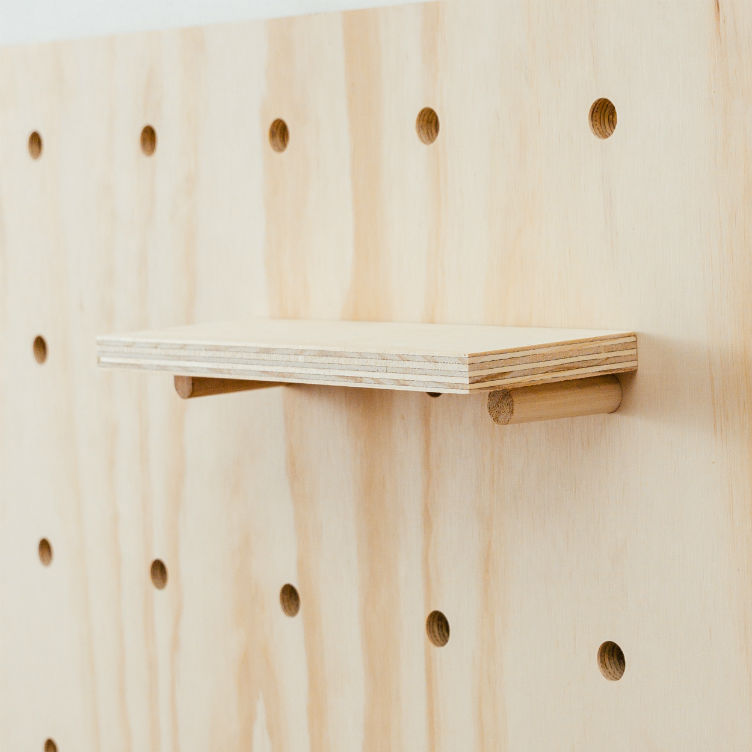
Place your dowels where desired for hanging items and create shelving by placing two dowels along the same row and setting shelves on top. You can also rest a round mirror on top of two dowels to create a small vanity.
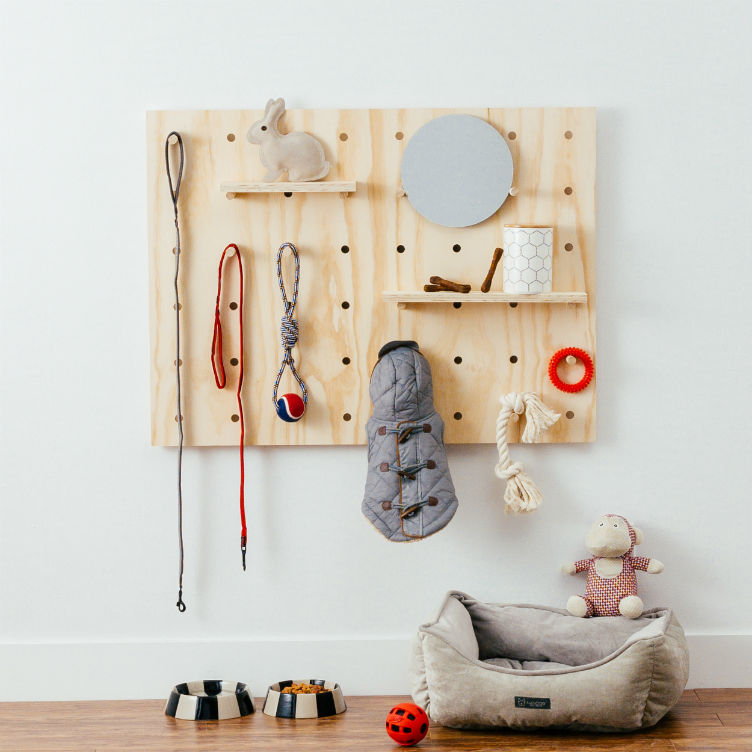
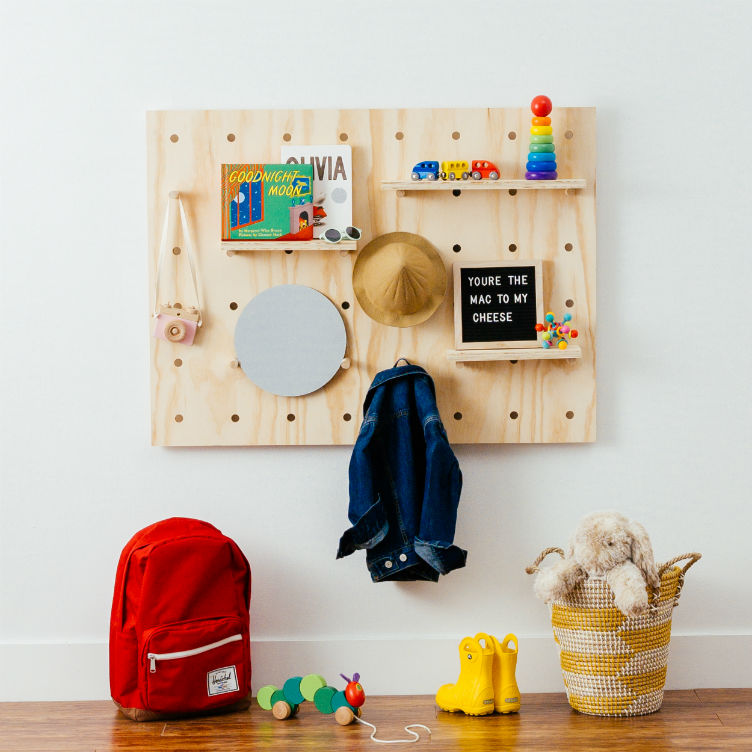
Don’t limit yourself to entryway essentials. This pegboard comes in handy in mudrooms for pet accessories, in bedrooms and playrooms for toys and books and bedrooms for robes and catch-all bowls. The opportunities are endless!
Home Network your inbox.
By clicking "SIGN UP” you agree to receive emails from Home Network and accept Corus' Terms of Use and Corus' Privacy Policy.


