Renovations have a tendency to run longer, be more expensive and be a whole lot messier than anticipated, leaving some homeowners swearing they’ll never remodel again. But like anything, experience is key to getting the job done efficiently. These clever tricks of the trade will help ensure your renovation goes to plan and stays on budget. Bonus: your newfound skills will earn you a lifetime of bragging rights.
Brian McCourt is a contractor, design expert and co-host of Home Network’s Backyard Builds.
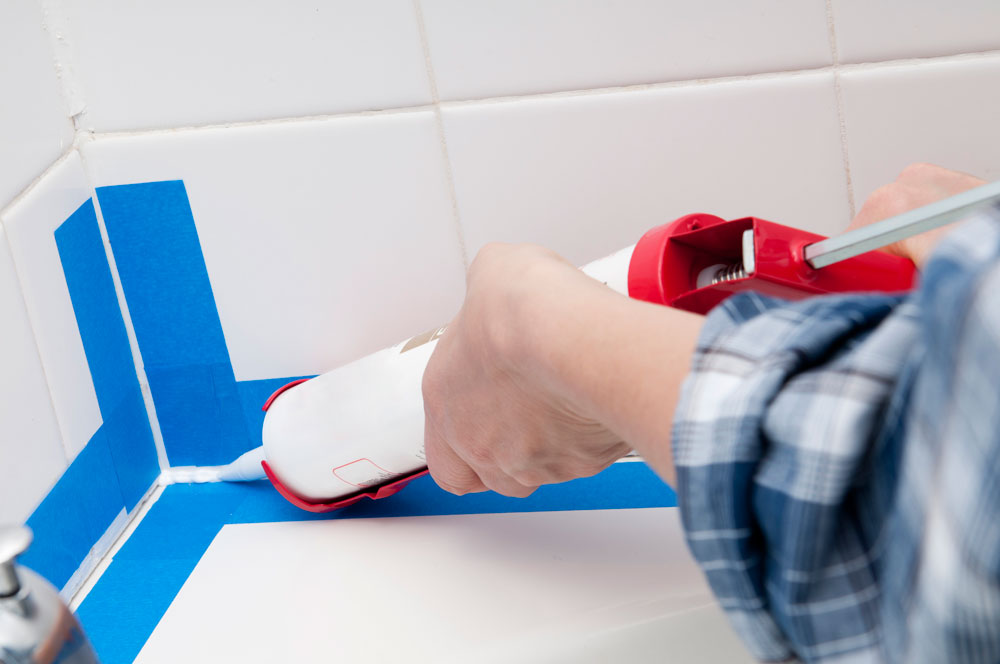
Get a Straight Caulk Line With Painters’ Tape
If you’ve ever squeezed too much toothpaste out of the tube and successfully managed to get it back in, then you can caulk a straight line around a bathtub. This remains the unicorn of DIY renos – it’s an art even for a pro! A great hack is to place painters’ tape above and below where you want to caulk. Apply your bead of caulking to the gap before running your finger down the line to smooth it out. Be sure to remove the tape before it dries, or you run the risk of starting over. Tip: fill gaps with grout and then use clear caulking (it’s much more forgiving).
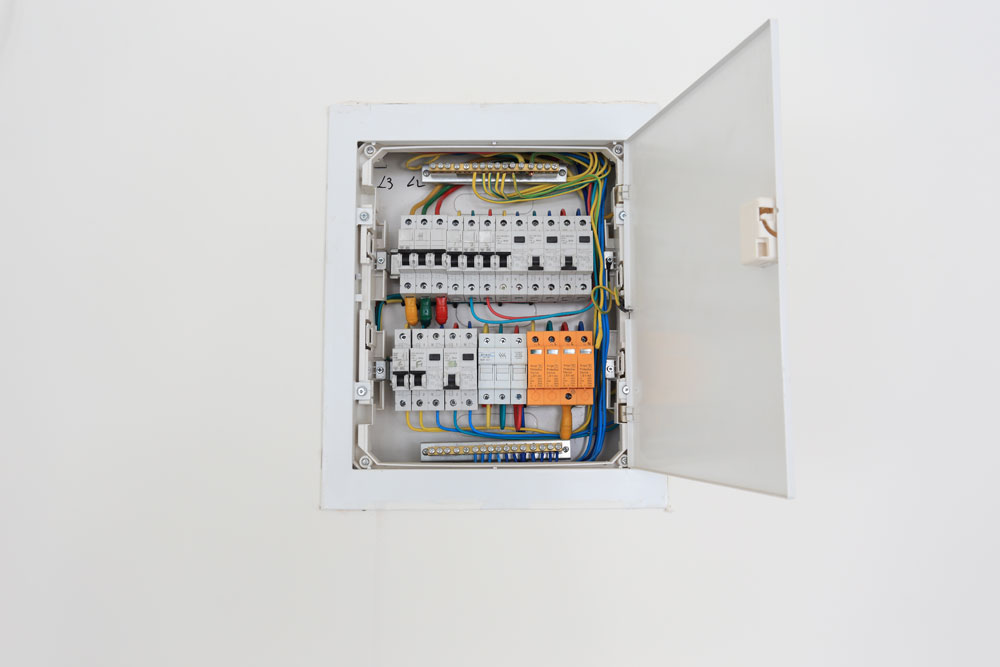
Use a Vacuum to Identify Electrical Breakers
When working alone, a poorly labeled electrical panel can be the source of some seriously tight glutes. Unless you intend to fit your workout into your reno plans by repeatedly running up and down the stairs to determine which breaker belongs to the bedroom outlets – use a vacuum. Turn the vacuum on and start flipping breakers. When the noise stops, you’ve got it. Then mark it on the panel for next time!
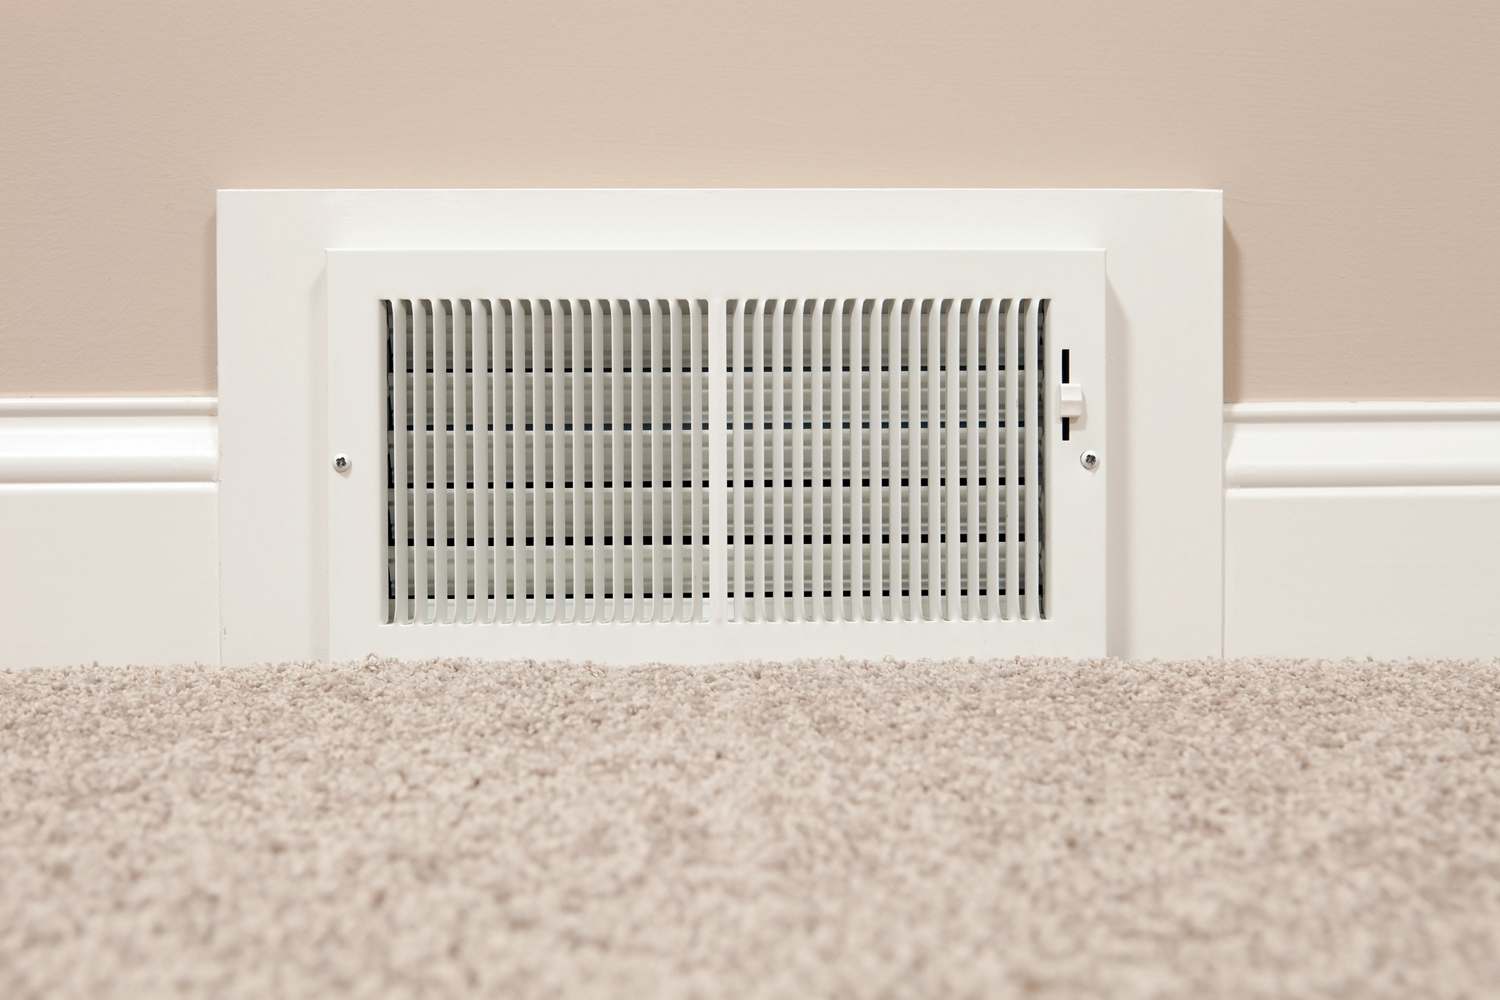
Reduce Dust With Pantyhose
Renovations are dusty. Before the demo storm starts, cover up your air vents with pantyhose. Wrap the pantyhose around the vent covers and tape the sides to seal. This will act as a secondary filter for your furnace and mitigate some of the dust. Do this on the return air and supply vent covers. Anytime there’s work happening in the house – turn off the furnace. Also, plan to change the main furnace filter every few weeks during and after the renovation.
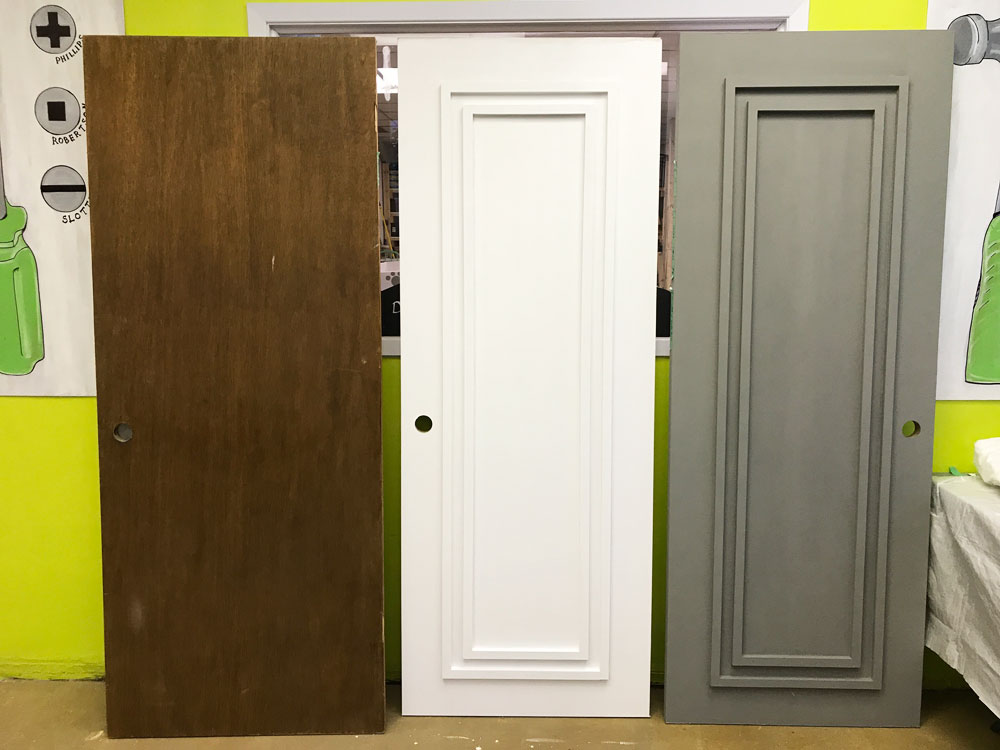
Add Molding to Boring Slab Doors
One of my favourite DIY transformations is nailing molding to an otherwise flat slab door. After filling any holes with caulking and painting the entire door, you’ll end up with a pretty sharp looking swinger! Get creative and design something unique that you haven’t seen on the market. It takes a bit of work, but costs next to nothing.

Use Your Phone to Find Studs
The “Stud Find” app has nothing to do with finding a strapping date, but has everything to do with finding wood supports behind your drywall. The app even has the ability to detect electrical currents from wiring to avoid when screwing into the wall – those would be the bad kind of fireworks.

Choose Paint Colours in a Well-Lit Room
Selecting wall colours can be tricky, especially for the average homeowner who does it once every 5-10 years. The bright florescent lights in the paint aisle make the tiny sample card look completely different from the wall you just spent hours painting. Paint colours change under different lighting, and when next to other finishes. Warm saturated hardwood can make paint look greyer, and cement floors can give paint a beige-y hue. Buy testers to coat a section of your wall, and don’t make a decision until you’ve seen it in daylight.

Organize With Old Containers
Whether it’s furniture, lighting or kitchen hardware, there always seems to be one screw missing at the end of the install. Save yourself the headache and keep materials organized by reusing plastic containers that would otherwise be recycled. Place the hardware pieces in a container, fasten the lid and poke slits into the top, so if the container falls, the less likely the items are to spread all over the room.
Opt For a Damp Rag Instead of Sanding
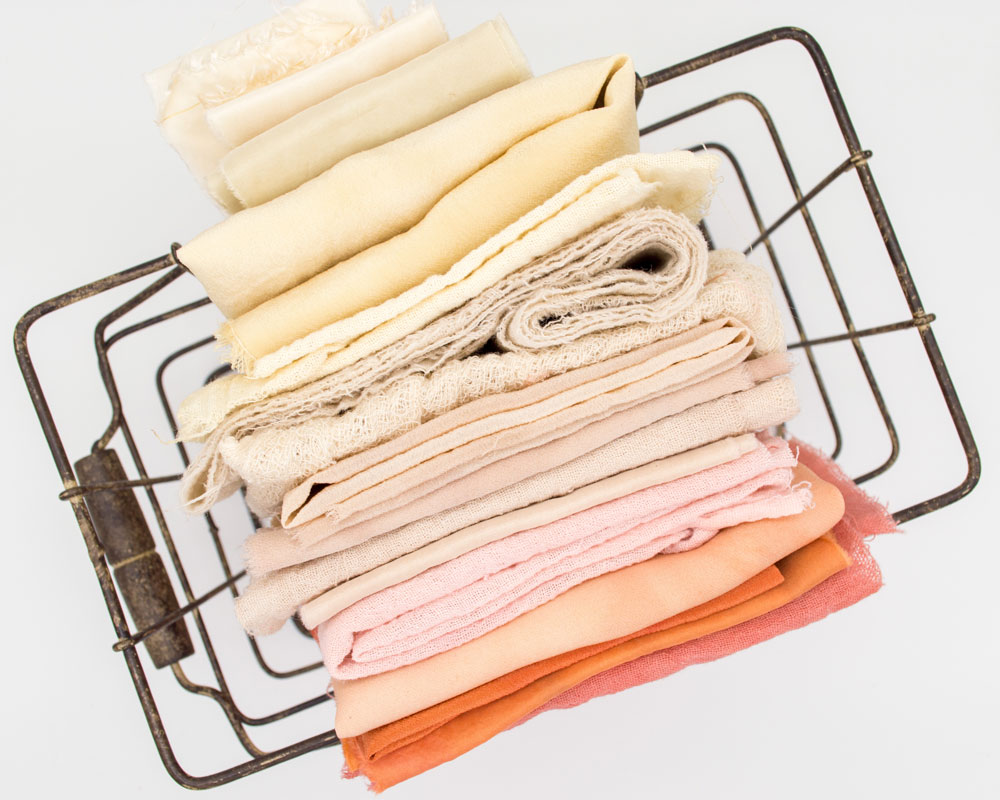
For small drywall holes, skip the dusty sanding by lightly wiping the dry patch with a damp cloth to smooth it out. Fold the rag in 4 to create a flat surface to smooth out your patch and gently wipe across the patch. Be careful not to press too hard and wipe away the drywall compound/mud. This only works on small screw and nail holes.
Home Network your inbox.
By clicking "SIGN UP” you agree to receive emails from Home Network and accept Corus' Terms of Use and Corus' Privacy Policy.


